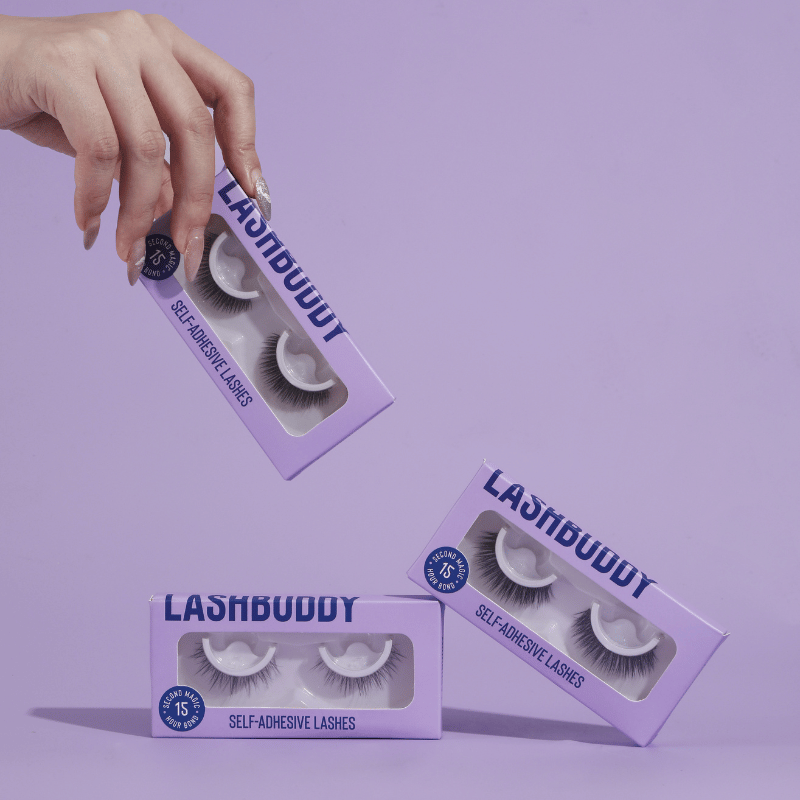
SELF-ADHESIVE CLUSTER LASHES
Your Complete Lash Guide
Video Tutorials, FAQs, and Pro Tips for Stunning, Healthy Lashes
Congratulations on making the switch from goo to clean!
We're so excited to have you here and we can't wait to teach you all about them.
If this is your first time putting on lashes..
Or if you've used traditional adhesive methods all your life..
Know that learning a new skill requires a little getting used to!
but I promise, it will be worth it.
Don't worry, we're here to help you every step of the way. :)
In this guide, you'll learn:
1. The best way to retrieve the clusters from the box
2. How to apply them
3. Customizing your look with our lash maps
4. Other FAQs
Let's start! 👇🏻
Video Tutorials
Quick Demo
This guide works for both our OG clusters and the new PRO lashes.
Master the Application: Detailed Walkthrough
An extended tutorial that walks you through the full application process in detail, so you know exactly what to expect.
Retrieving the clusters from the box
Mastering this step will make applying your lashes a breeze.
Oh, and stick around till the end of the video for some crucial "don'ts" when handling your precious clusters.
Watch How Others Do It
Everything You Need To Know
Step 1: Prep Your Eyes
✓ Start with clean, makeup-free lashes for the best stick.
✓ Gently wipe your lash line with a cotton pad to remove oils.
✓ Skip mascara — it can interfere with our adhesive.
✘ Avoid applying eye cream, SPF, or moisturizer right before application. Save those for after your lashes are on (and keep them away from the lash base).
💡 Pro Tip: Curl your natural lashes first — it helps your clusters blend in and gives extra lift.
Step 2: Retrieving Clusters From Box
Use your Lash Buddy applicator to carefully lift a cluster from the tray by gripping the fibers, not the adhesive band. (watch the above video tutorials for visual examples!)
Once out, you can adjust your grip for better control — just avoid touching the adhesive strip with your fingers.
Step 3: Apply Like a Pro
Look down into a mirror for the clearest view.
✓ Place each cluster underneath your natural lashes, about 1mm above your waterline (never directly on it).
✓ Slightly overlap the clusters for a seamless lash line that looks natural but full.
💡 Pro tip: Use a magnifying mirror if possible!
Step 4: Set & Secure
Once you’ve placed your clusters, use the applicator to gently press your natural lashes and the clusters together.
✓ Clamp lightly above the adhesive base (not directly on it) so the applicator doesn’t stick.
✓ For best results, do a few gentle squeezes instead of one hard clamp.
💡 Re-clamp every morning to make sure they are locked in place!
Step 5: Aftercare Tips
✓ Keep lashes away from water and steam for the first 24 hours.
✓ Clusters can be re-clamped in the mornings to refresh hold.
✓ Avoid direct contact with oily products like SPF or moisturizer.
✓ Sleep on your back if you can (or use a lash-friendly eye mask) to keep them perfect overnight.
Step 6: Easy Removal
With clean hands, gently peel off each cluster starting from the outer corner. Remember to pinch on the clusters, not your natural lashes.
Go slow and steady — your natural lashes will thank you.
Extra Tips to Make Them Last
Always apply on a clean, dry lash line.
Clamp well during application — this is the key to long wear.
Leave a few of your natural lashes bare at the outer corner for the most natural blend.
If a cluster loosens, just reapply — the adhesive stays tacky enough to touch up.
How long do Lash Buddy clusters last?
Our self-adhesive clusters use our FlexiBond™ technology, giving you up to 5-7 days of comfortable wear.
Tips for longer wear:
While the lashes can handle light moisture, avoid long exposure to water or steam.
Try not to sleep face-down — it can shift your lashes.
Apply about 1mm above your waterline for best comfort.
Always clamp your clusters and natural lashes together after applying.
Avoid rubbing or tugging at your eyes.
Can I shower with Lash Buddy clusters?
Yes — you can shower while wearing them! We recommend avoiding direct water contact for the first 24 hours (ideally 48) so the adhesive sets fully. After that, quick showers are fine — just avoid rubbing your lashes when wet.
Cleaning tip: If you need to cleanse around the eyes, use a cotton swab to carefully dab. Steer clear of oil-based cleansers near the lashes, as oils can break down the adhesive.
Can you feel them on your eyes?
Nope! If applied correctly, Lash Buddy clusters should feel weightless. If you do feel them, it likely means they’re placed too close to the waterline. Just remove and reapply for a seamless, comfy fit.
Are Lash Buddy lashes reusable?
Each set is designed for 5–7 days of continuous wear. Because the adhesive is built-in, we don’t recommend reusing them once removed.
*Our PRO Collection is made with an upgraded FlexiBond™ adhesive for even better grip and longer-lasting hold — giving you maximum wear time and added confidence.
How many applications do I get per pack?
Each Lash Buddy pack gives you plenty of wear time.
On average, you’ll use 8–12 clusters for a full set, which means:
A 48-cluster pack = about 4–6 full sets (up to a month of lashes).
Since each set lasts up to 5-7 days, one pack is all you need for weeks of effortless lashes.
If you’re just applying a few clusters for a cat-eye or accent look, you’ll stretch your pack even further.
How do I avoid stickiness when clamping?
Use gentle, quick squeezes instead of one heavy clamp.
Clamp slightly above the adhesive base (not directly on it).
Keep your applicator clean and free of residue between clusters. (We recommend our PRO Anti-Stick Applicator)