Self-Adhesive Lash Strips
Your Complete Lash Guide: Video Tutorials, FAQs, and Pro Tips for Stunning, Healthy Lashes
Shop Self-Adhesive Cluster Lashes
-

- 1 + 1 FREE
Self-Adhesive Eyelash
Regular price $34.95Regular priceUnit price per -

- Save 54%
Starter Kit
Regular price $49Regular priceUnit price per$108.75Sale price $49Save [%] -
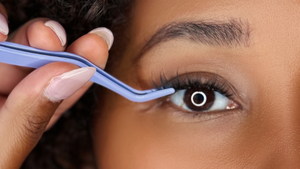
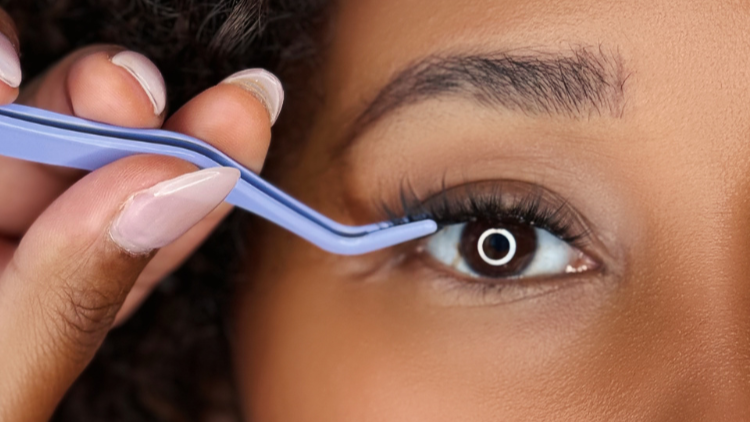
LashGrip Applicator
Regular price $6.95Regular priceUnit price per -

- Save 20%
Adhesive Strips Refill (10 Strips)
Regular price $11.95Regular priceUnit price per$15Sale price $11.95Save [%]


